Spring Cloud 微服务入门教程(二):服务注册与发现-Eureka
2020年02月17日 16:59:00 · 本文共 4,487 字阅读时间约 16分钟 · 3,852 次浏览
本节将总新建一个Maven多模块项目开始从头新建一个项目,并完成基于SpringCloud-Eureka的服务注册与发现基础的演示,本次演示试用的是IntellJ IDEA开发环境。
使用Maven构建多模块项目
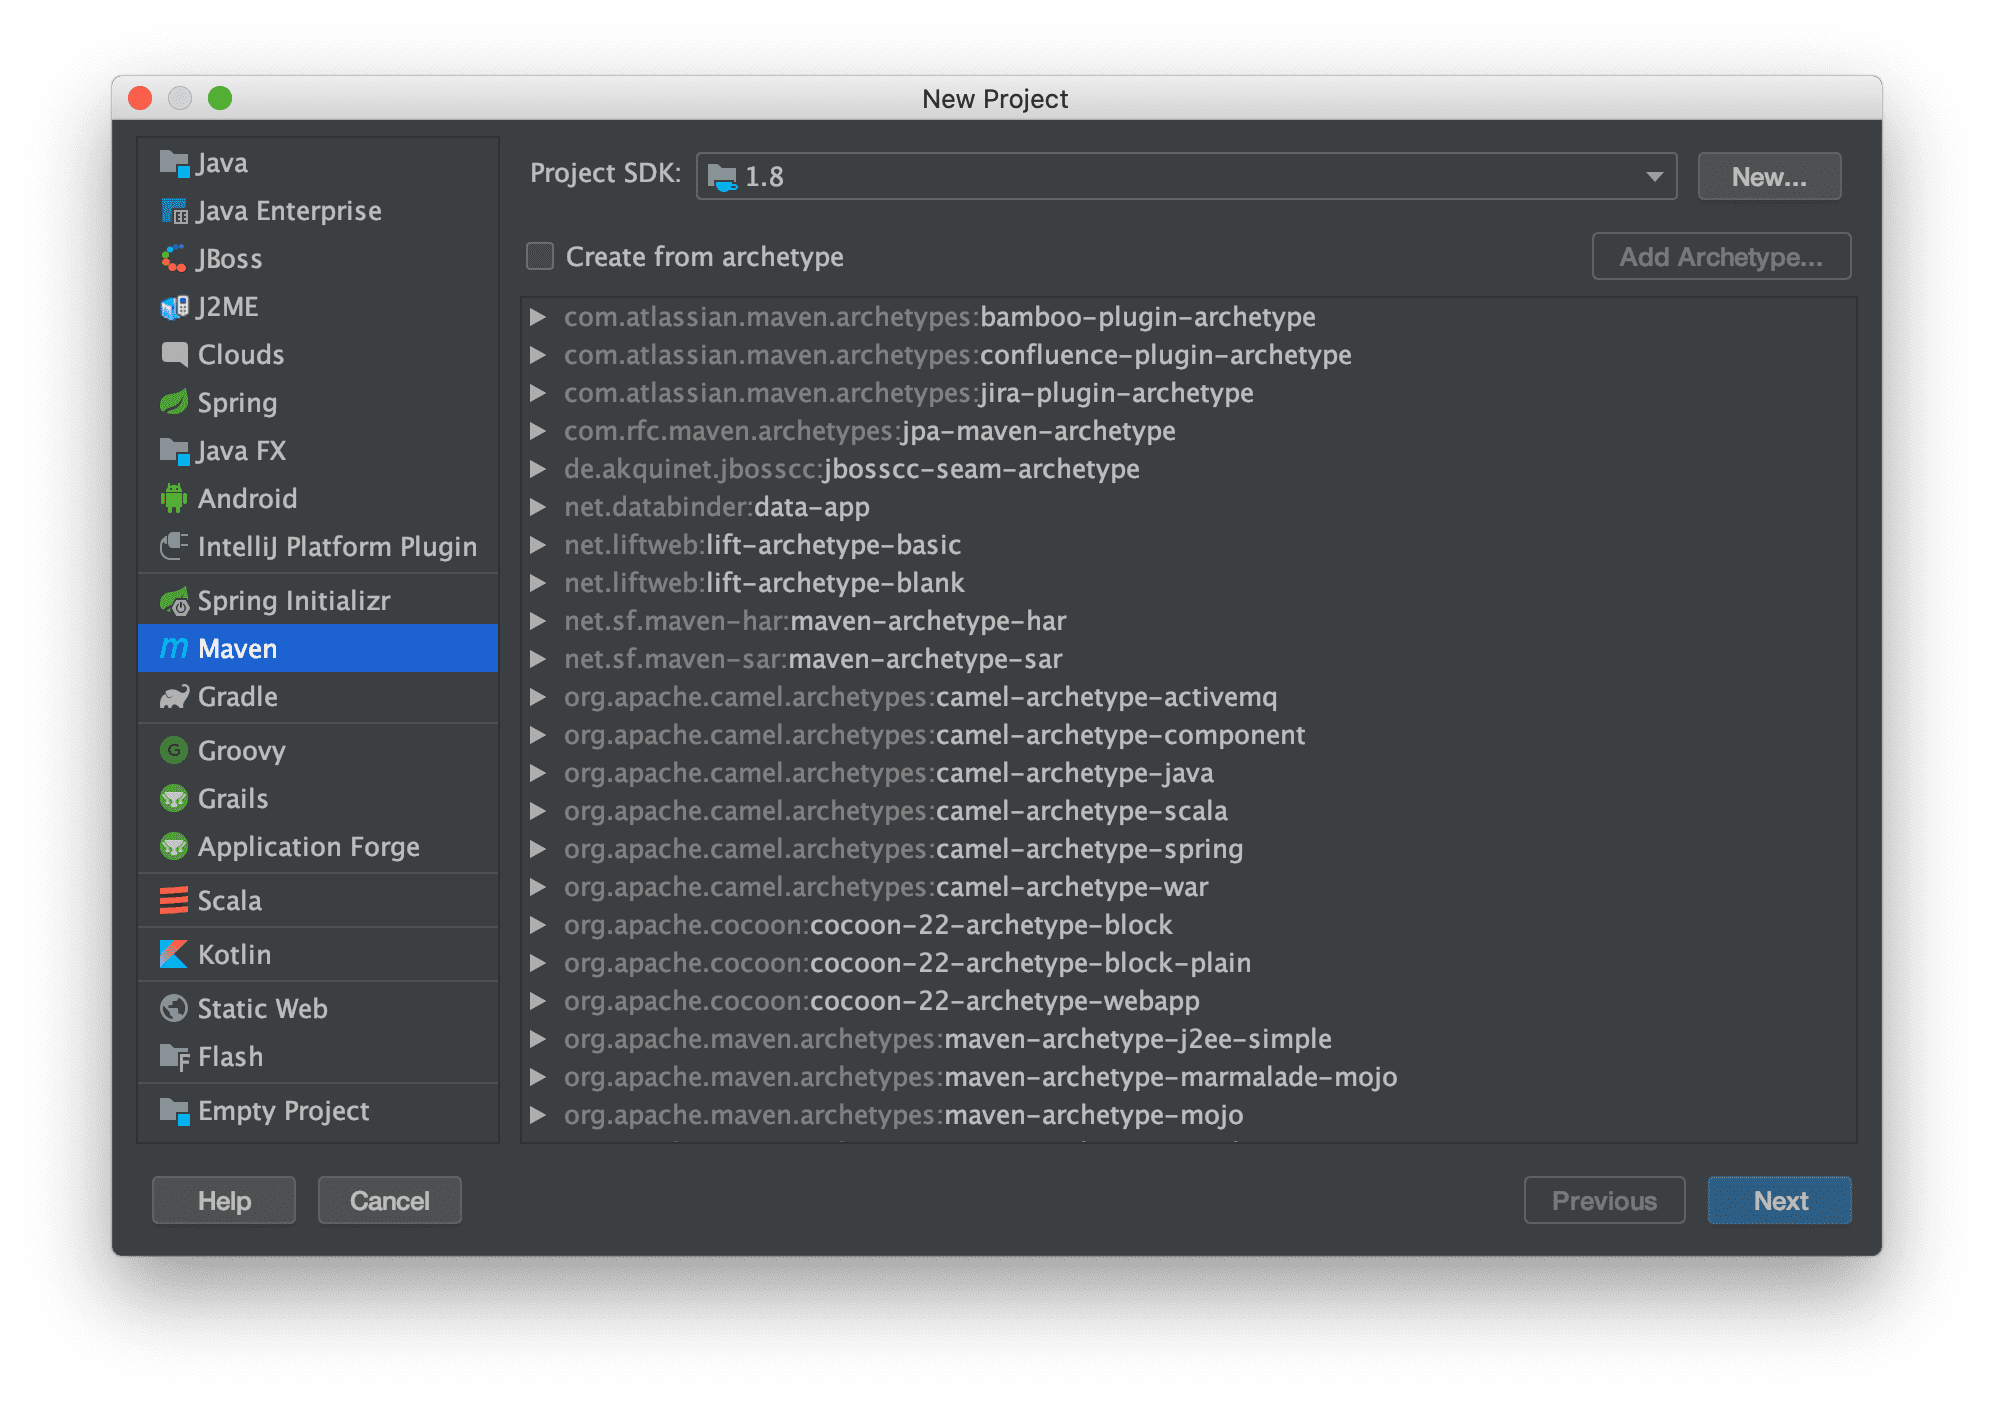
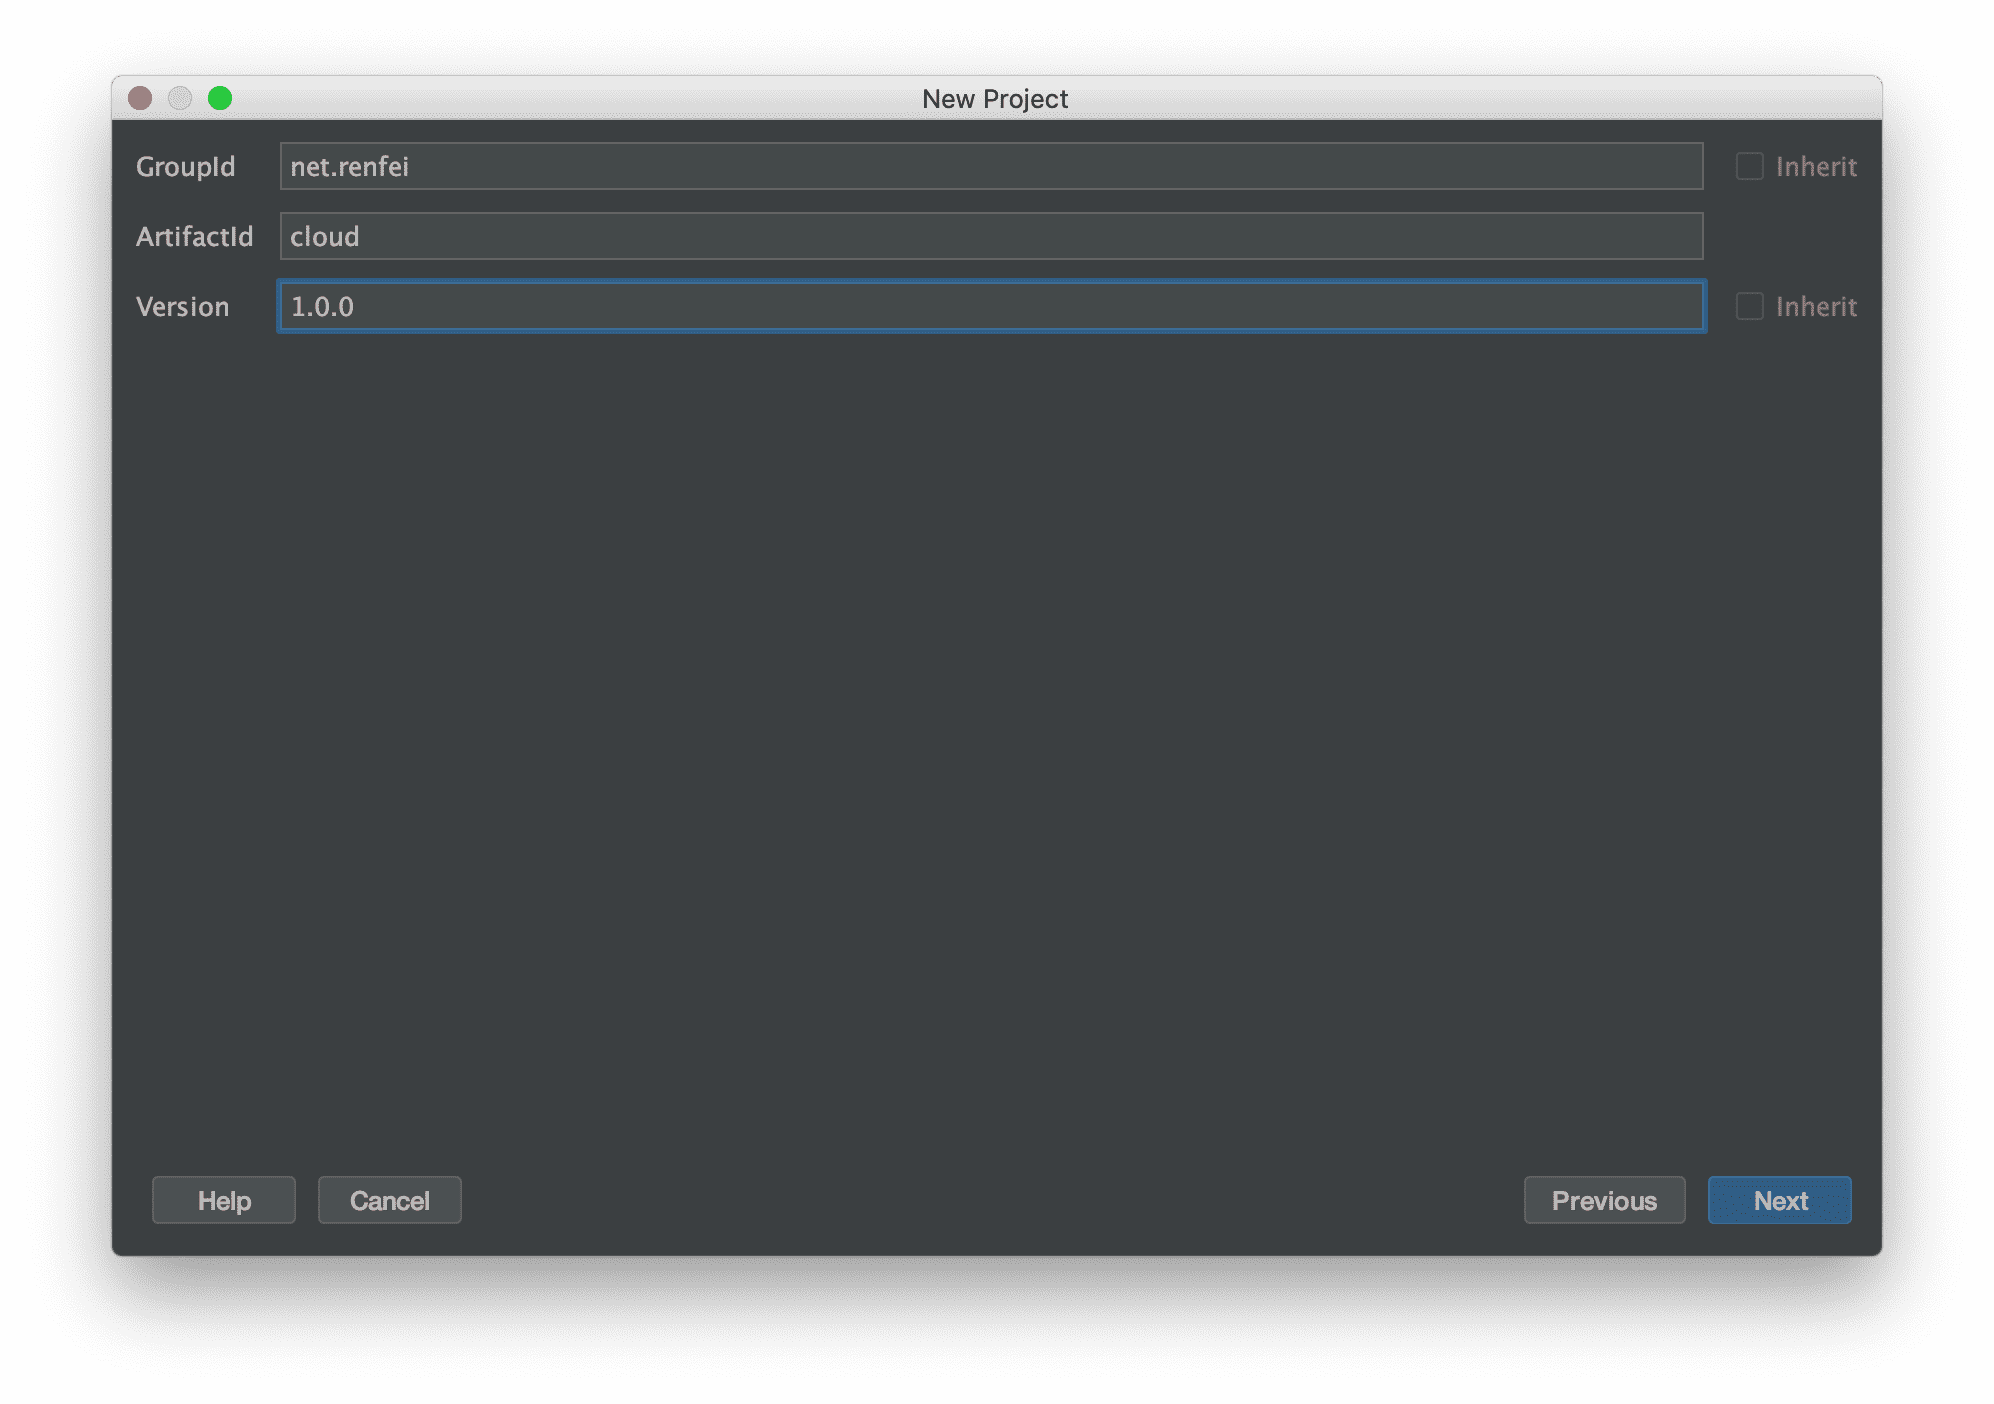
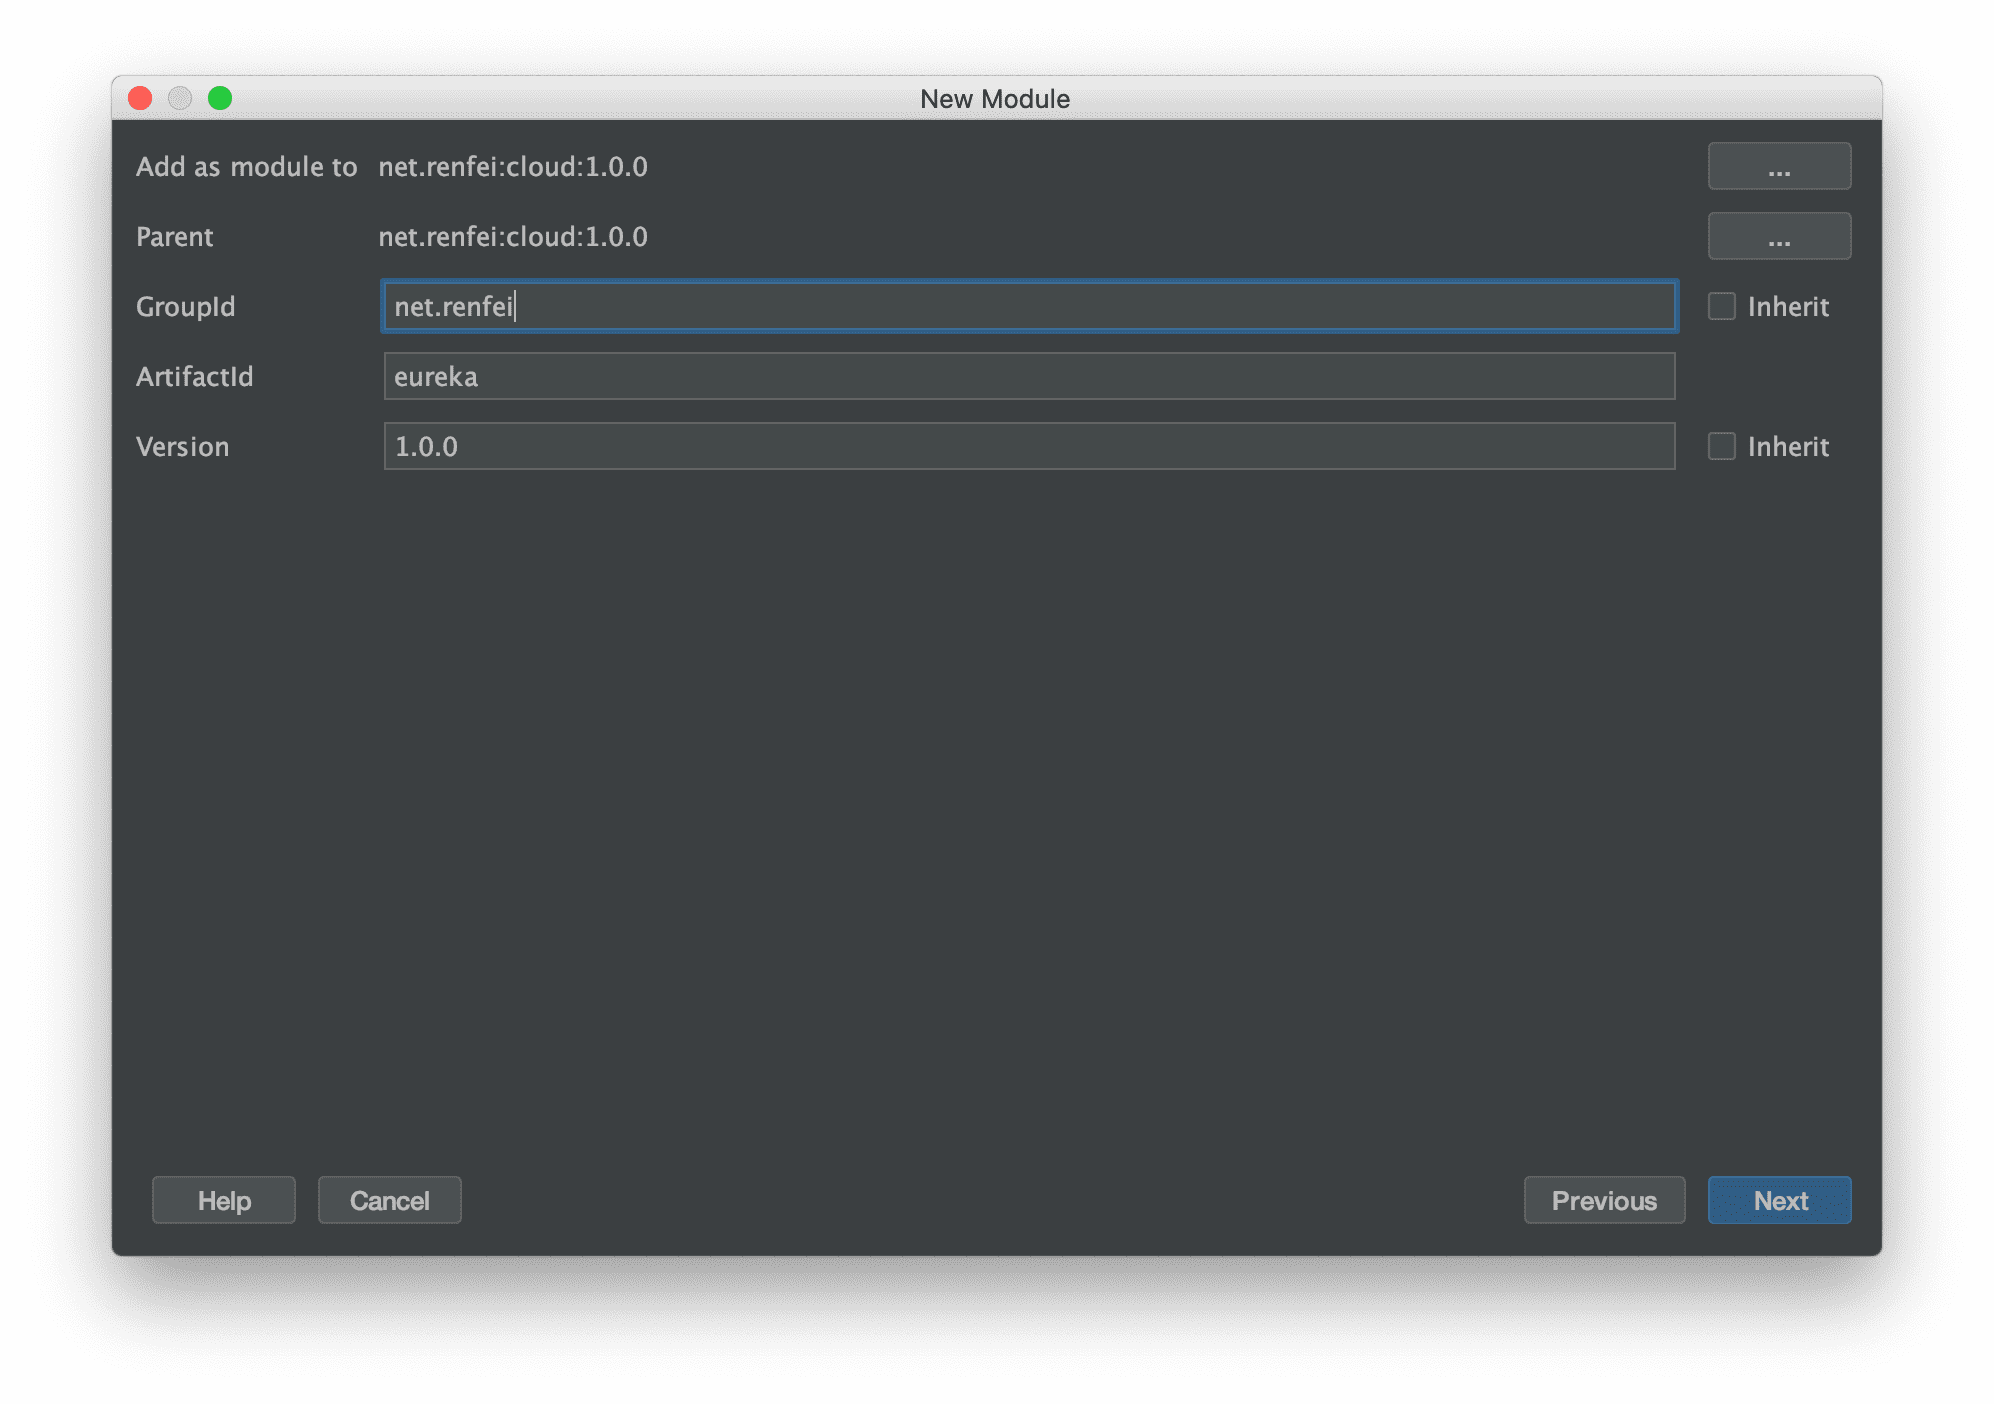
使用IntellJ IDEA新建一个Maven项目,JDK使用1.8,我比较喜欢手动操作,所以先新建一个空的Maven项目,groupId是net.renfei,artifactId是cloud,version是1.0.0,这三个就使用你自己的公司名字和项目名就可以:
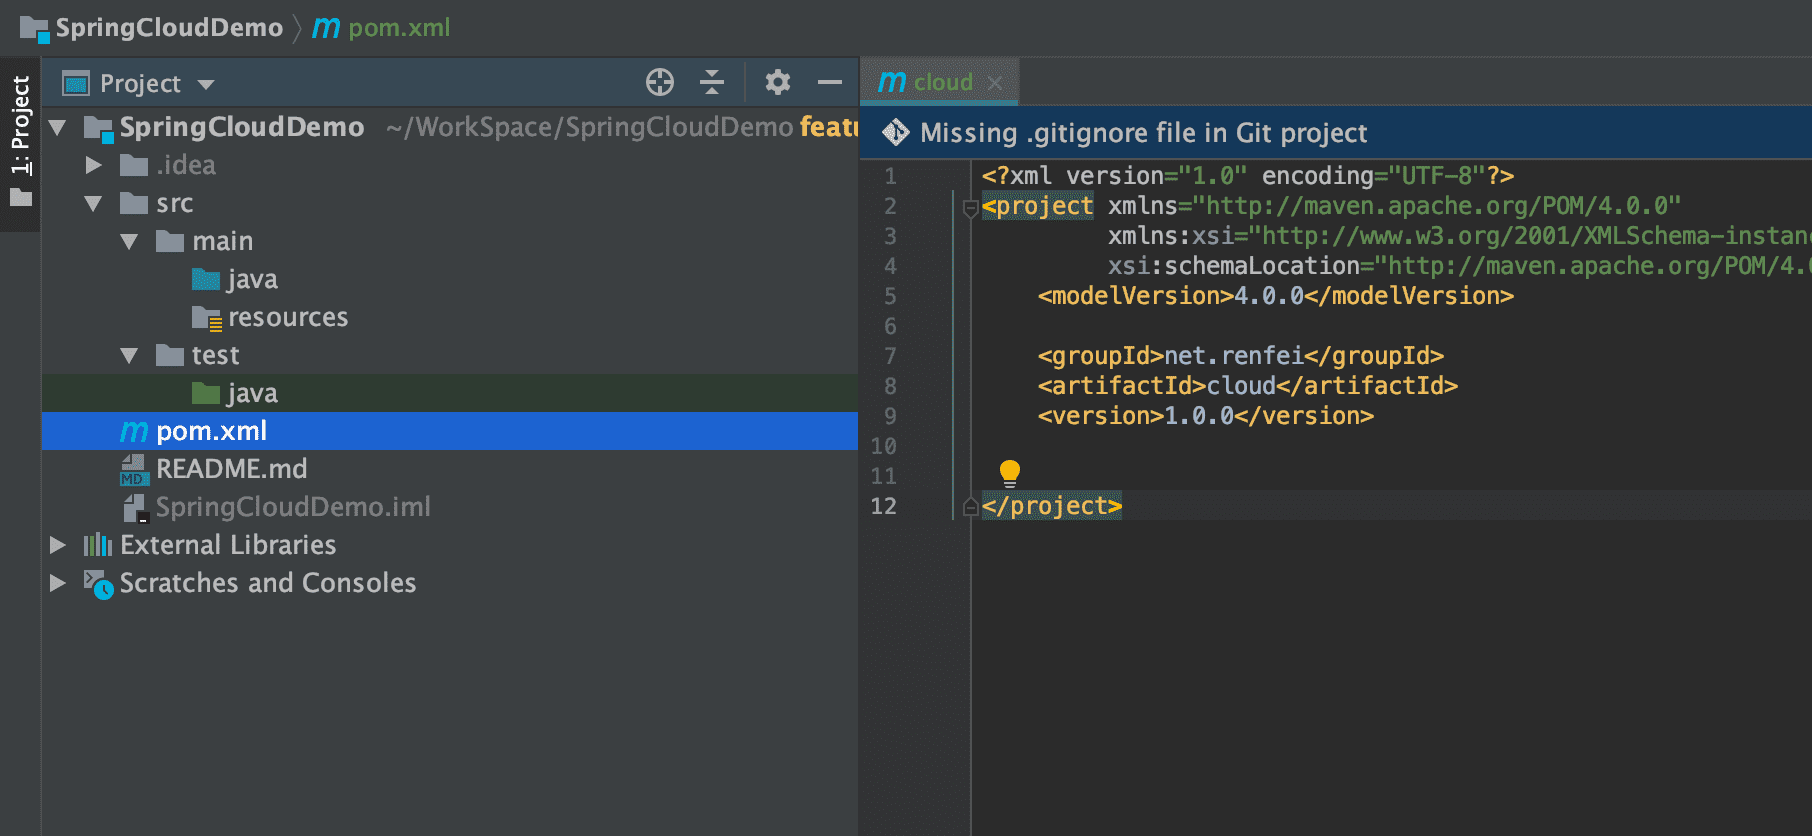
然后我们会得到一个pom.xml,这个以后就是我们项目的根pom文件了,下一步改造这个pom文件,先看看目前SpringCloud的最新版本是多少,可以到官网查看:https://spring.io/projects/spring-cloud,截止这篇教程时最新的稳定版是「Hoxton SR1」,这里需要提一句,SpringCloud和SpringBoot是有版本关系的,不能自己瞎选版本,目前「Hoxton.SR1」版本对应的SpringBoot版本是「
2.2.x」,有的朋友可能没注意,在SpringCloud官网下面写了“Release train Spring Boot compatibility”的关系对照表,所以我们的根pom文件应该去继承SpringBoot最新的的「2.2.4.RELEASE」版本,pom文件这样写:
<?xml version="1.0" encoding="UTF-8"?>
<project xmlns="http://maven.apache.org/POM/4.0.0"
         xmlns:xsi="http://www.w3.org/2001/XMLSchema-instance"
         xsi:schemaLocation="http://maven.apache.org/POM/4.0.0 http://maven.apache.org/xsd/maven-4.0.0.xsd">
    <modelVersion>4.0.0</modelVersion>
    <groupId>net.renfei</groupId>
    <artifactId>cloud</artifactId>
    <version>1.0.0</version>
    <packaging>pom</packaging>
    <name>SpringCloudDemo</name>
    <description>Demo project for Spring Cloud By RENFEI.NET</description>
    <properties>
        <java.version>1.8</java.version>
        <project.build.sourceEncoding>UTF-8</project.build.sourceEncoding>
        <spring-cloud.version>Hoxton.SR1</spring-cloud.version>
    </properties>
    <parent>
        <groupId>org.springframework.boot</groupId>
        <artifactId>spring-boot-starter-parent</artifactId>
        <version>2.2.4.RELEASE</version>
        <relativePath/>
    </parent>
    <dependencies>
        <dependency>
            <groupId>org.springframework.boot</groupId>
            <artifactId>spring-boot-starter-test</artifactId>
            <scope>test</scope>
        </dependency>
    </dependencies>
    <dependencyManagement>
        <dependencies>
            <dependency>
                <groupId>org.springframework.cloud</groupId>
                <artifactId>spring-cloud-dependencies</artifactId>
                <version>${spring-cloud.version}</version>
                <type>pom</type>
                <scope>import</scope>
            </dependency>
        </dependencies>
    </dependencyManagement>
    <build>
        <plugins>
            <plugin>
                <groupId>org.springframework.boot</groupId>
                <artifactId>spring-boot-maven-plugin</artifactId>
            </plugin>
        </plugins>
    </build>
</project>
新建一个子模块:Eureka作为服务发现服务器
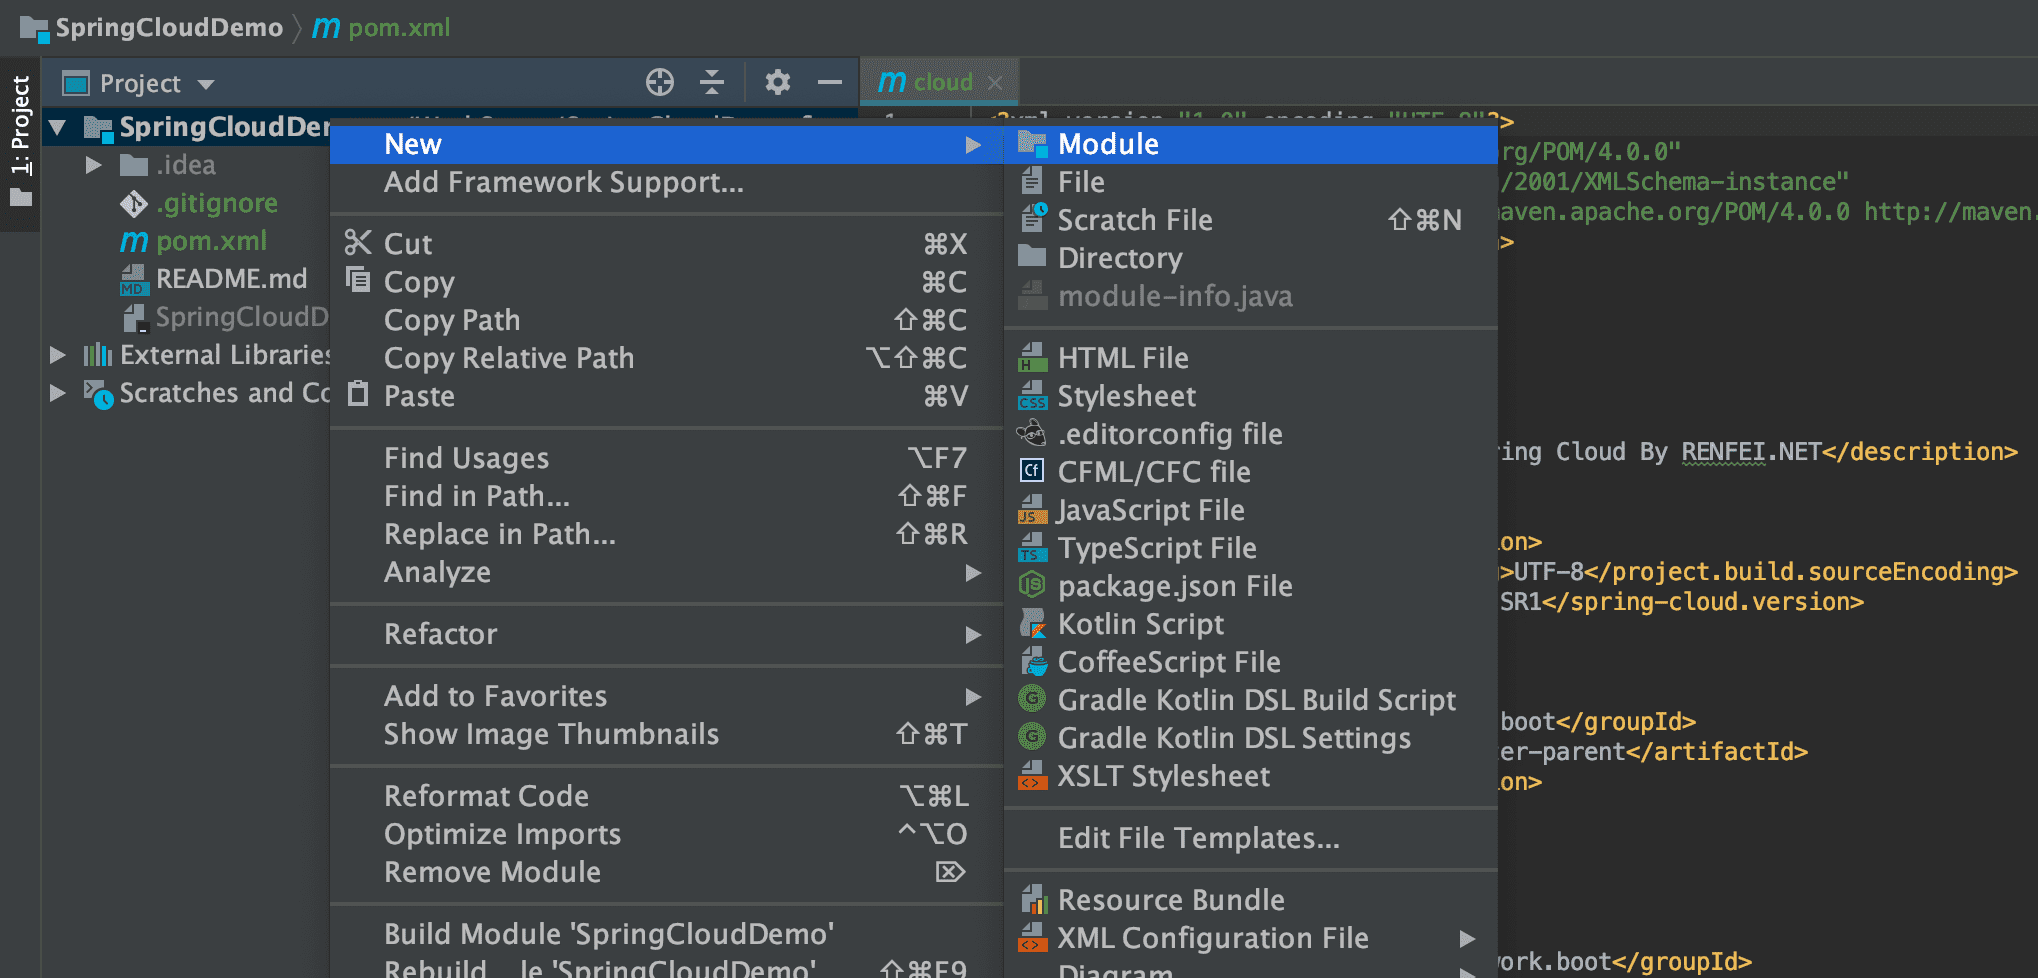
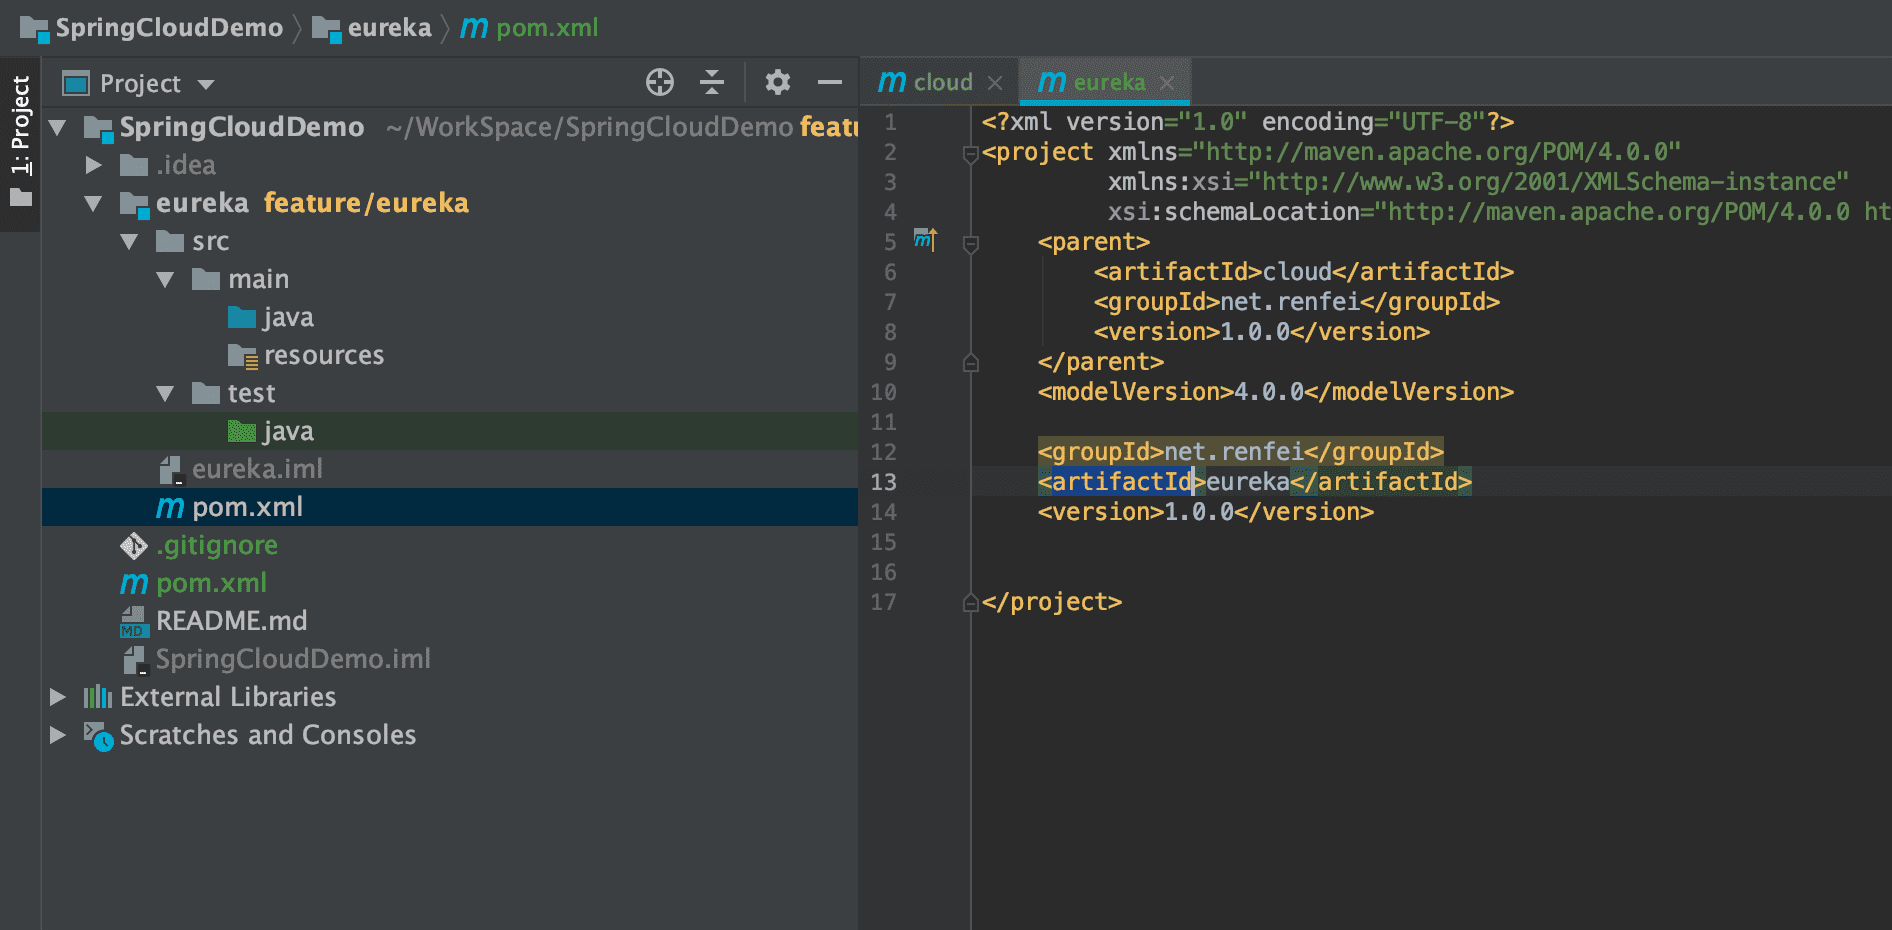
我们先删除新建项目时为我们新建的「src」文件夹,因为我们使用的是多模块,所以项目根下的这个「src」文件夹就没用了,删除以后右击项目名,选择新建一个模块,名字叫eureka的空白Maven项目,这时候你会得到一个新的pom文件,这个是子模块自己的pom文件,他继承了我们根pom文件:
服务发现与注册Eureka-Server服务端
「eureka」子模块将作为我们服务注册发现的服务端,我们先修改pom文件,他应该依赖「spring-cloud-starter-netflix-eureka-server」:
<?xml version="1.0" encoding="UTF-8"?>
<project xmlns="http://maven.apache.org/POM/4.0.0"
         xmlns:xsi="http://www.w3.org/2001/XMLSchema-instance"
         xsi:schemaLocation="http://maven.apache.org/POM/4.0.0 http://maven.apache.org/xsd/maven-4.0.0.xsd">
    <parent>
        <artifactId>cloud</artifactId>
        <groupId>net.renfei</groupId>
        <version>1.0.0</version>
    </parent>
    <modelVersion>4.0.0</modelVersion>
    <groupId>net.renfei</groupId>
    <artifactId>eureka</artifactId>
    <version>1.0.0</version>
    <name>eureka</name>
    <description>springcloud-eureka-server</description>
    <dependencies>
        <dependency>
            <groupId>org.springframework.cloud</groupId>
            <artifactId>spring-cloud-starter-netflix-eureka-server</artifactId>
        </dependency>
        <dependency>
            <groupId>org.springframework.boot</groupId>
            <artifactId>spring-boot-starter-test</artifactId>
            <scope>test</scope>
        </dependency>
    </dependencies>
    <build>
        <plugins>
            <plugin>
                <groupId>org.springframework.boot</groupId>
                <artifactId>spring-boot-maven-plugin</artifactId>
            </plugin>
        </plugins>
    </build>
</project>
新建程序启动入口EurekaServerApplication和配置文件application.yml
我们在子项目的eureka/src/main/java右击,新建一个包package:net.renfei.eureka,然后在包里新建一个class,EurekaServerApplication作为子模块的启动入口:
package net.renfei.eureka;
import org.springframework.boot.SpringApplication;
import org.springframework.boot.autoconfigure.SpringBootApplication;
import org.springframework.cloud.netflix.eureka.server.EnableEurekaServer;
@EnableEurekaServer
@SpringBootApplication
public class EurekaServerApplication {
    public static void main(String[] args) {
        SpringApplication.run(EurekaServerApplication.class, args);
    }
}
是不是跟SpringBoot非常像?其实SpringCloud就是一个一个SpringBoot组合起来的,这里只需要加个@EnableEurekaServer注解就可以了,本教程是入门基础教程,相关注解先不做讨论,放在未来进阶教程里再详细讨论,然后我们在子模块的resources文件夹里添加配置文件application.yml:
server:
  port: 8761
eureka:
  instance:
    # 设置eureka的主机地址
    hostname: localhost
  client:
    #表示是否将自己注册到Eureka Server,默认为true。由于当前应用就是Eureka Server,故而设置为false
    register-with-eureka: false
    #表示是否从Eureka Server获取注册信息,默认为true。因为这是一个单点的Eureka Server,不需要同步其他的Eureka Server节点的数据,故而设置为false
    fetch-registry: false
    service-url:
      defaultZone: http://${eureka.instance.hostname}:${server.port}/eureka/
spring:
  application:
    # 服务模块名称
    name: eureka
配置文件里配置了子模块监听的是 8761端口,并给这个模块起了一个名字在spring.application.name=eureka,并且register-with-eureka: false不向自己注册自己。
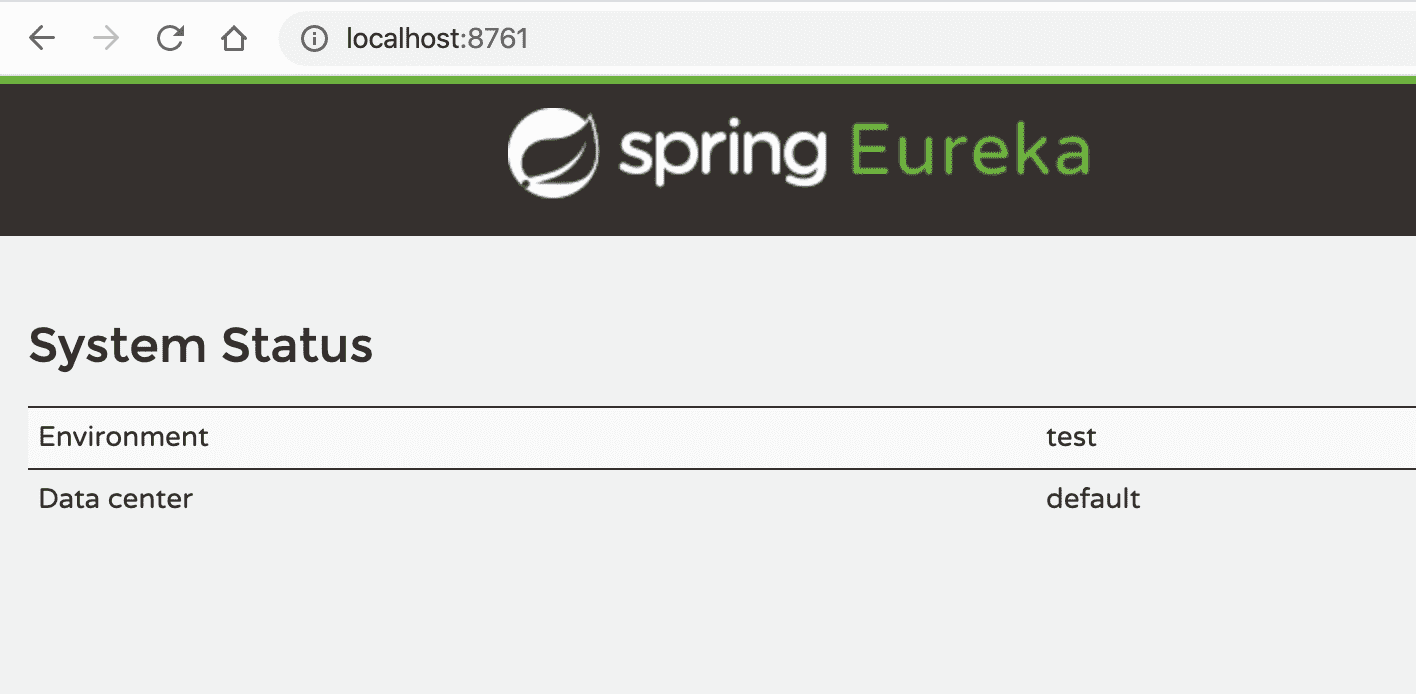
点击EurekaServerApplication上面的小三角运行,就可以将注册中心跑起来了,然后使用浏览器访问http://localhost:8761/ 看到有eureka页面,注册中心搭建就完成了!
下一节预告:服务的Server提供者和Client消费者
版权声明:本文为博主「任霏」原创文章,遵循 CC BY-NC-SA 4.0 版权协议,转载请附上原文出处链接及本声明。
原文链接:https://www.renfei.net/posts/1003320
相关推荐
猜你还喜欢这些内容,不妨试试阅读一下以下内容均由网友提交发布,版权与真实性无法查证,请自行辨别。

- 前后端分离项目接口数据加密的秘钥交换逻辑(RSA、AES)
- OmniGraffle 激活/破解 密钥/密匙/Key/License
- CleanMyMac X 破解版 [TNT] 4.6.0
- OmniPlan 激活/破解 密钥/密匙/Key/License
- 人大金仓 KingbaseES V8 R3 安装包、驱动包和 License 下载地址
- Parallels Desktop For Mac 16.0.1.48911 破解版 [TNT]
- Redis 未授权访问漏洞分析 cleanfda 脚本复现漏洞挖矿
- Parallels Desktop For Mac 15.1.4.47270 破解版 [TNT]
- Sound Control 破解版 2.4.2
- 向谷歌搜索引擎主动推送网页的教程 Google Indexing API 接口实现
- 博客完全迁移上阿里云,我所使用的阿里云架构
- 微软确认Windows 10存在bug 部分电脑升级后被冻结
- 大佬们在说的AQS,到底啥是个AQS(AbstractQueuedSynchronizer)同步队列
- 比特币(BTC)钱包客户端区块链数据同步慢,区块链数据离线下载
- Java中说的CAS(compare and swap)是个啥
- 小心免费主题!那些WordPress主题后门,一招拥有管理员权限
- 强烈谴责[wamae.win]恶意反向代理我站并篡改我站网页
- 讨论下Java中的volatile和JMM(Java Memory Model)Java内存模型
- 新版个人网站 NEILREN4J 上线并开源程序源码
- 我站近期遭受到恶意不友好访问攻击公告